 Australia
 International


 Blogs
Blogs Glossary
 Templates
 Videos
 Paperback Literature
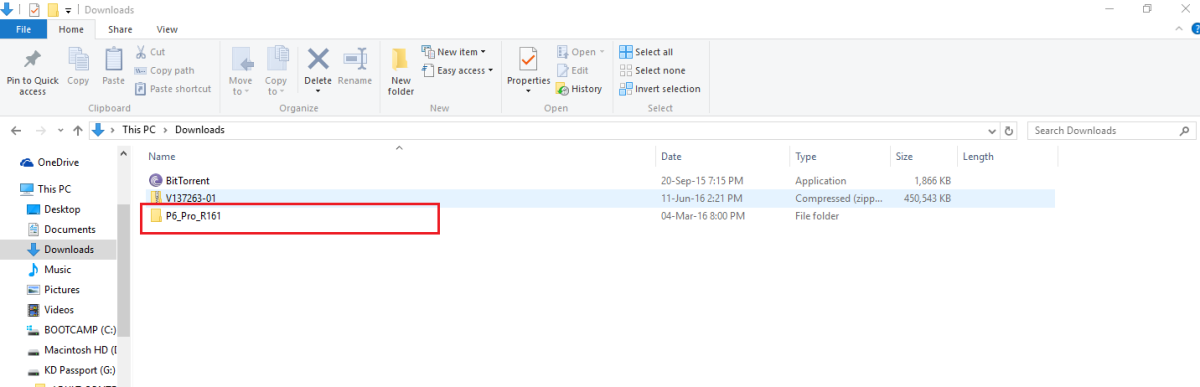
Click on Setup

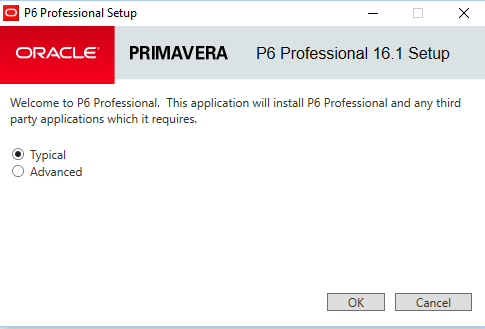
Select “Typical” and click OK
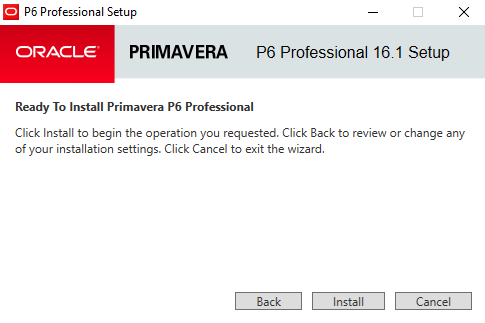
Click Install
After installation complete, click OK.
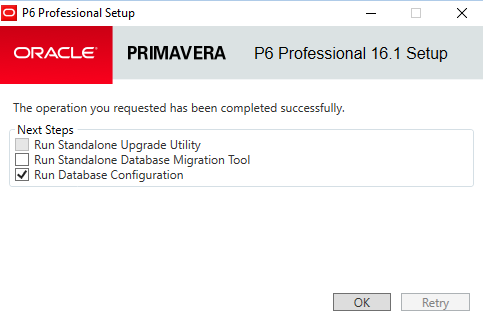
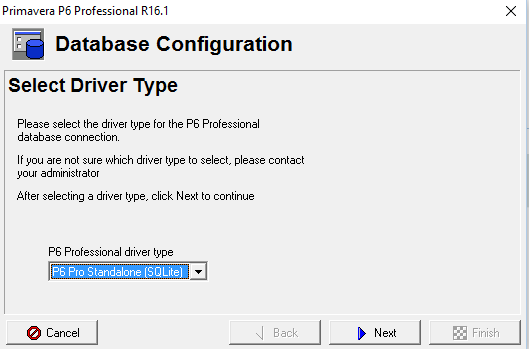
In Driver type drop-down list, select “P6 Pro Stand-alone (SQLite)”, then click Next
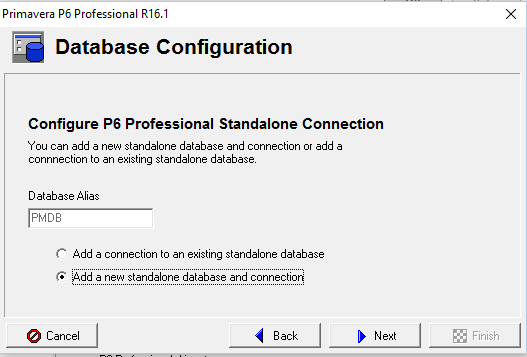
Select “Add a new standalone database and connection”. Click Next
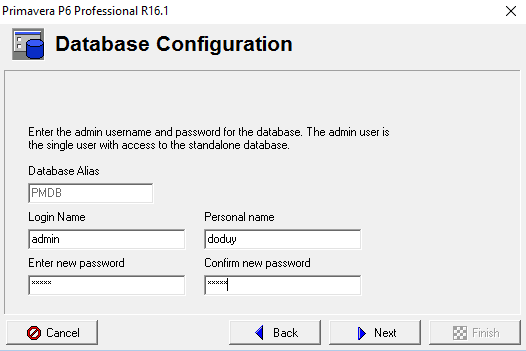
Enter new password. For example “admin”. Click Next
You can change destination of database file, otherwise it will be stored in My Document folder.
Check on “Load Sample Data” if you want some sample project appear in your database. Uncheck it if you want your database is blank. To create database for working, we usually uncheck it.
Click Next

Click Finish
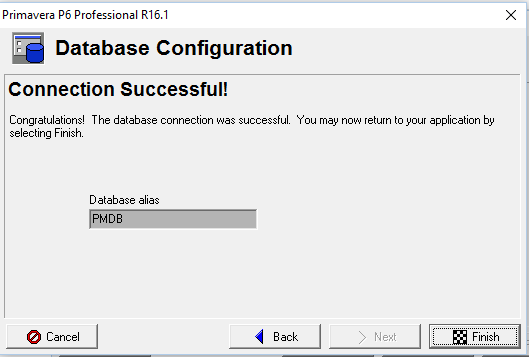
You have finished the installation.
Now we open the application.
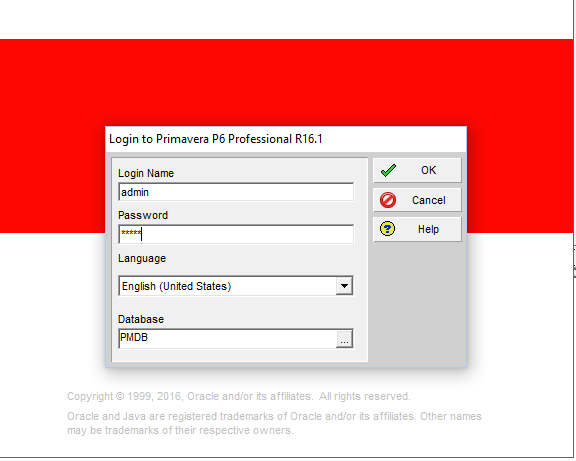
In Start menu click on P6 Professional R16.1
Enter password. For example “admin”. Click OK
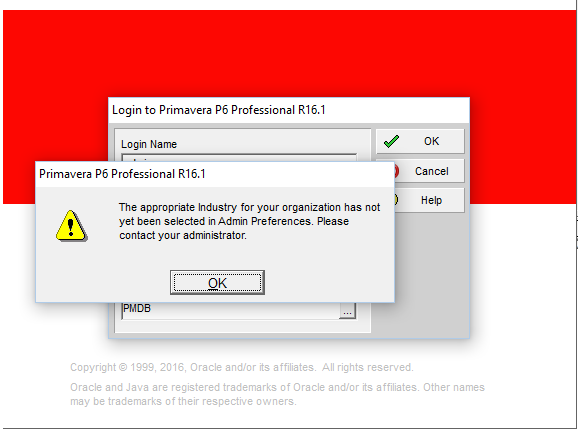
Click OK again. We will turn that notification off when we’re inside program.
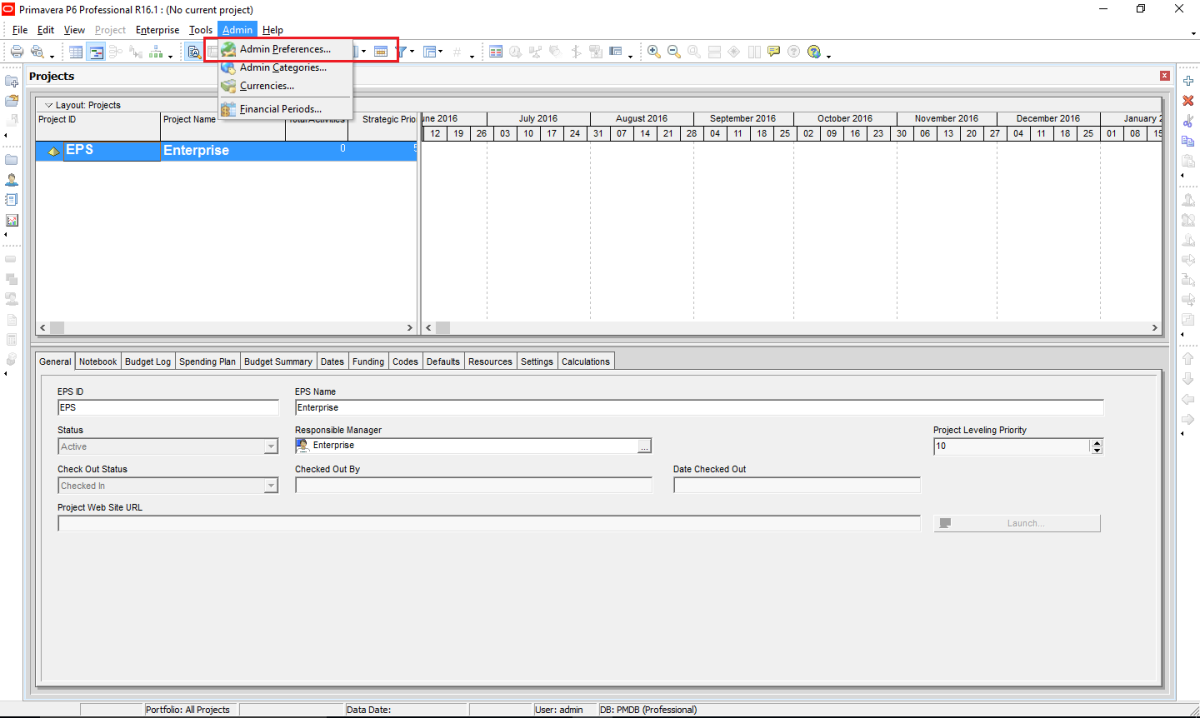
Go to Admin -> Admin Preferences
Go to Industry tab and select your industry. For example “Engineering and Construction”. Then click on Close.
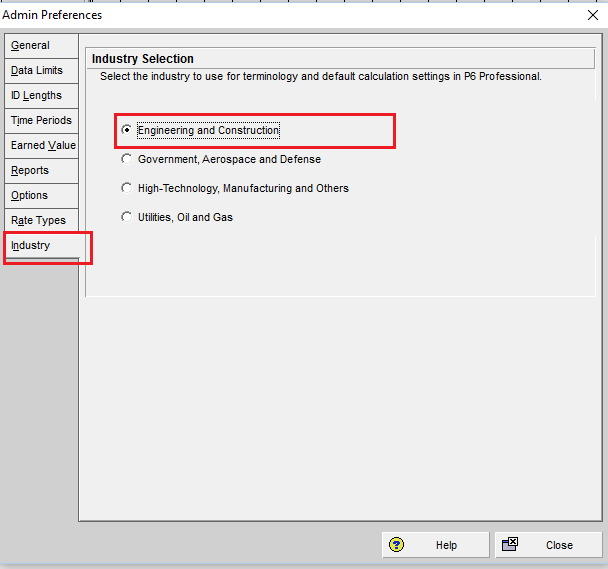
Congratulation. Now you can plan with Primavera P6.
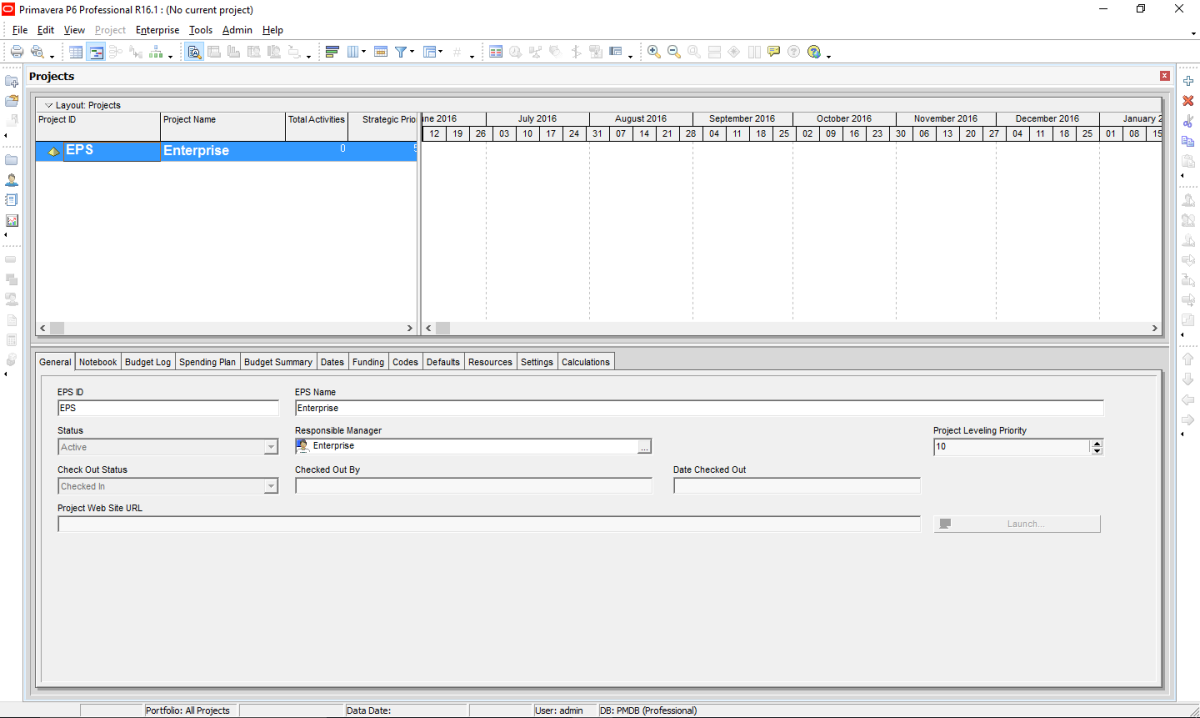
Happy Planning![]()


